
-
Pl
chevron_right
Erlang Solutions: ElixirConf US 2025: Highlights from My First ElixirConf
news.movim.eu / PlanetJabber • 8 September 2025 • 3 minutes
Joining conferences is one of the best perks of working as a Developer at Erlang Solutions. Despite having attended multiple Code BEAM conferences in Europe,
ElixirConf US 2025
was my first. The conference had 3 tracks, filled with talks from 45+ speakers and 400+ attendees, both in-person and virtual.
ElixirConf is one of the great occasions to connect with other Elixir enthusiasts in the community and get to learn what others have been doing as well as what the Elixir core team is planning for the future of the language.
The Atmosphere
Most of the faces were unfamiliar to me, but as expected from the BEAM community, everyone was super friendly. Most were not shy about approaching others, sharing about their own or their company’s experiences. The “hallway track” was always lively during the coffee break or during the talks.
Before the conference began, I had a tough time deciding which talk to attend. At other conferences I’ve been to, most of the talks were interesting, but not all were relevant to my daily work as an Elixir developer. That made it easier to prioritise which talks to attend live and which ones I could catch up on later if they overlapped.
ElixirConf was different. Many of the talks were not only interesting but also directly relevant to my work, and several were scheduled at the same time. This made it very difficult to decide which session to attend in person and which to leave for the recordings.
Some standout talks
Chris McCord’s Keynote: Elixir’s AI Future
One of the talks I was most looking forward to was the keynote by Chris McCord. I had previously watched the recording of his ElixirConfEU keynote about
phoenix.new
and was eager to see what new ideas he would bring to Elixir and the Phoenix framework, especially in terms of AI.

Chris talked about AI agents, how Elixir is well-suited for building them, and what the future of Elixir and AI might look like. He emphasised that it is not about chasing hype but about staying on the bleeding edge of technology: “building the things we want to build, building the things we want to see.”
He also shared his perspective on code generation, noting that it has made it easier for newcomers to get started with Elixir and Phoenix. In his view, the community is now in a strong position to attract developers from outside the ecosystem to give it a try.
Panel: Building Careers, Balancing Life
Another talk I was eager to hear was the panel discussion hosted by my Erlang Solutions colleague Lorena, together with Allison Randal, Savannah Manning, and Anna Sherman, three women from different backgrounds and stages of their careers.
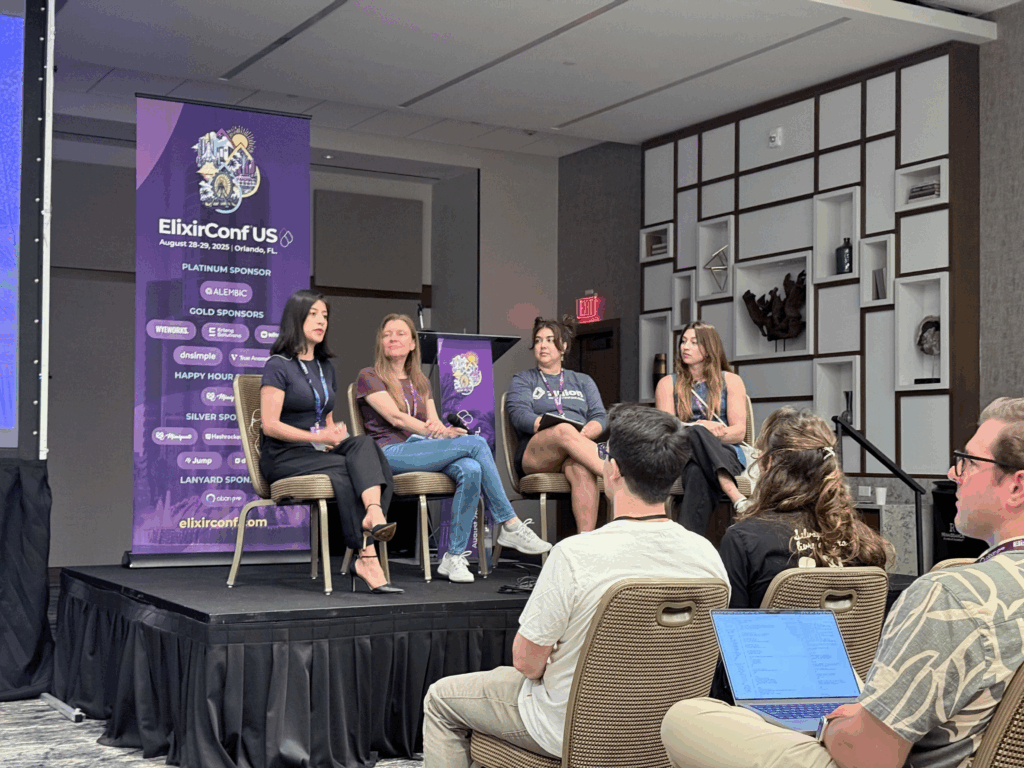
It was great hearing stories from other women in the tech community and feeling inspired. The three panellists shared the stories and challenges they had faced in their careers. They also talked about the importance of having mentors, the community, and knowing the big picture, which helped them grow. The advice they gave during the talk was both very relatable and inspiring.
Joe Harrow: Beyond Safe Migrations
I also found Beyond Safe Migrations to be great food for thought. This talk was a very practical and solid example of what could go wrong in a live database migration, and the tool Cars Commerce was using to prevent that. Over the span of my career, I have written many database migrations, from small startup projects altering a table with only a few hundred rows to large-scale projects where the tables had millions of rows.
My team sometimes discussed strategies for altering existing tables, but most of the time we would just go ahead and make the changes. Listening to Joe, I learned about things that could have gone really wrong and that there is a systematic way of mitigating those risks.
Key Takeaways
All in all, Elixir Conf US was a great conference, packed with talks about experiences and challenges, new and upcoming technologies, and also about growing the community. There was, of course, a surge in AI-related talks, both from early adopters to the future of Elixir with AI.
I found that the main theme running through the conference was the growth and sustainability of the Elixir community. ElixirConf is well worth attending, whether you are just starting out or already an experienced developer.
The post ElixirConf US 2025: Highlights from My First ElixirConf appeared first on Erlang Solutions .
